Music Visualizers · 7 min ·
How to Turn Album Cover Art Into a Music Visualizer
Turn a single cover image into a moving music visualizer for YouTube, TikTok, Instagram Reels, and Shorts.
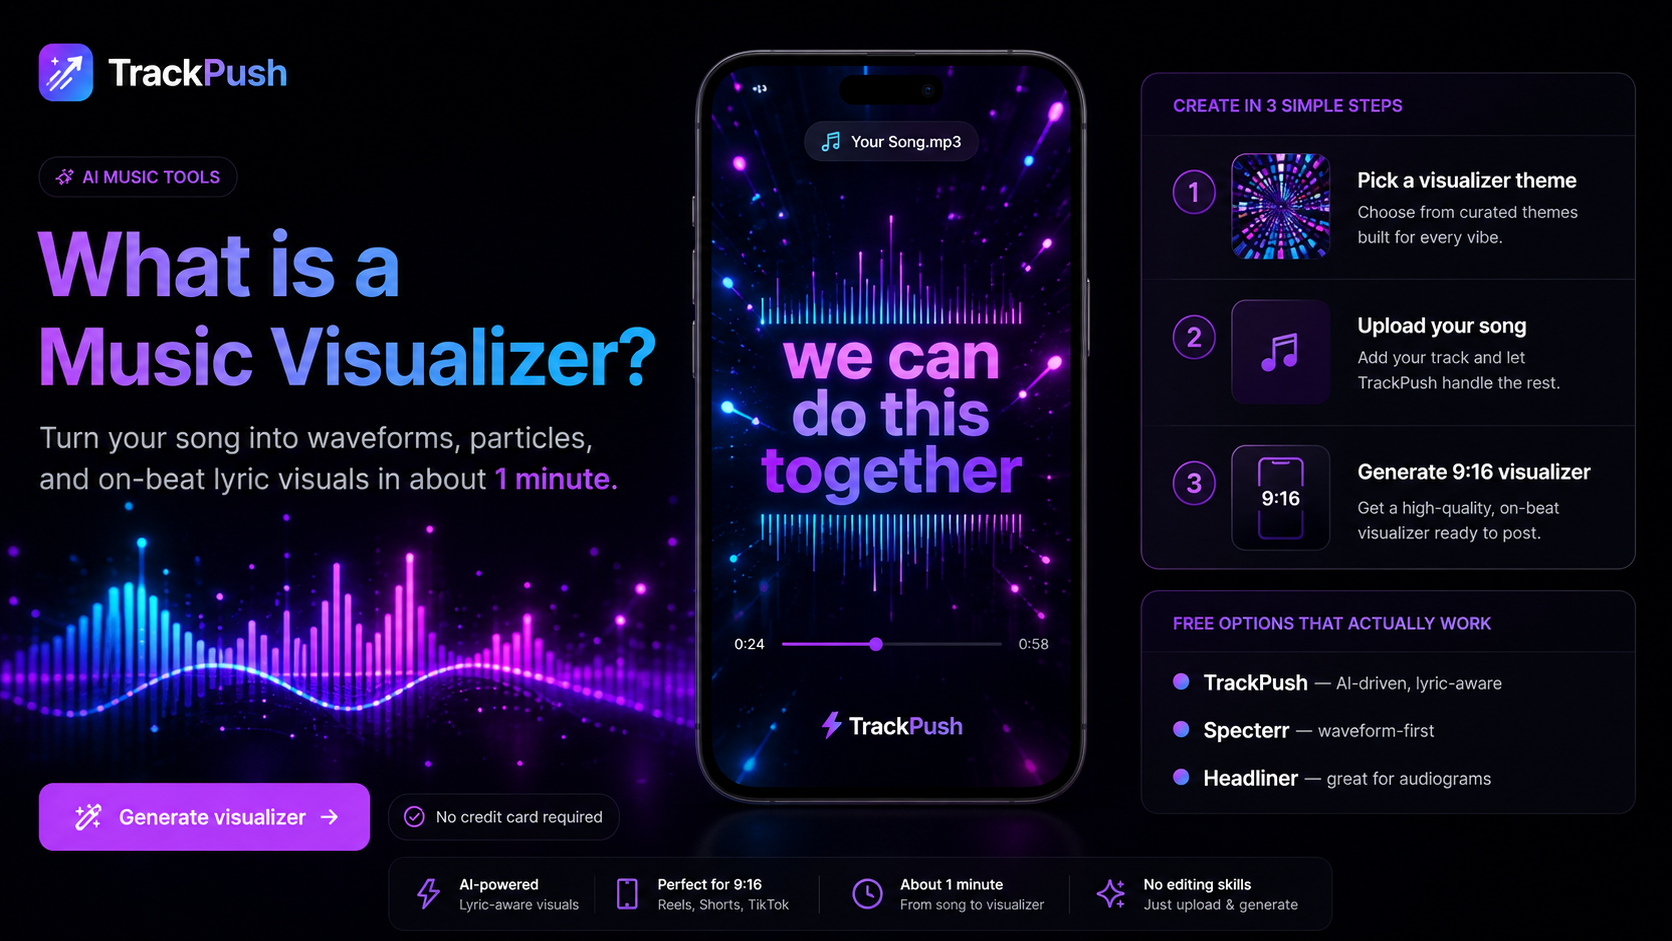
Turn one cover image into a complete music video
You do not need a filmed performance or a large clip library to publish a polished music video. A strong single cover, your finished audio, and a responsive visualizer can create a reusable video format for full songs, previews, and release announcements.
This workflow is especially useful for independent artists who already have cover art but need more visual content around a release.
What you need before you start
Prepare your final song, square artwork, artist name, song title, streaming link, and any optional logo, release date, lyrics, or call to action. Use the highest-resolution artwork you have. A square image of at least 2000 by 2000 pixels gives you room to crop for horizontal and vertical layouts.
Step 1: choose the final video format
Start with the platform where the video will be published.
- YouTube: use a 16:9 landscape canvas for full songs.
- TikTok, Reels, and Shorts: use a 9:16 vertical canvas.
- Feed posts: use a square or 4:5 layout for announcements.
If you need several versions, build the landscape master first, then create a separate vertical composition. Do not simply crop the center of the landscape video; important text or the visualizer may disappear.
Use our music visualizer video size guide for exact dimensions.
Step 2: place the cover art
Your cover should remain the visual anchor. Common layouts include:
- Large centered square art with a spectrum below it
- Cover art on one side with the title and waveform on the other
- Full-screen blurred artwork with a sharp cover image in front
- Circular visualizer surrounding the cover
- Edge-to-edge artwork with a subtle waveform overlay
Leave enough empty space for motion. If every edge is filled with text, logos, and effects, the visualizer will feel cramped.
Step 3: choose a spectrum or waveform
An audio spectrum produces detailed rhythmic motion because different frequency bands react independently. A waveform is cleaner and often leaves more room for typography.
Read audio spectrum vs waveform visualizer if you are unsure which style matches your track.
Step 4: add useful release information
For a full-song upload, include the artist name, track title, and a short listening call to action. For a teaser, add the release date or “out now.” Keep the message short enough to read on a phone.
If you include a QR code, test it from a second phone before publishing. The code should have strong contrast and enough clear space around it.
Step 5: export and test
Watch the exported video from beginning to end. Check that the audio starts cleanly, the visualizer remains in sync, text is readable, artwork is sharp, and no important element sits under platform controls.
For YouTube, also prepare a useful title, description, and thumbnail. Follow the complete YouTube visualizer tutorial.
Reuse the design across your release
Once the first layout works, turn it into a repeatable release template:
- Full-song YouTube visualizer
- 15-second chorus teaser
- Vertical pre-save announcement
- Release-day Reel
- Lyric excerpt
- Milestone or playlist-add announcement
This gives the campaign a consistent identity without making every post from scratch.
Create your album-cover visualizer
Use the TrackPush music visualizer maker to turn your music and artwork into an animated video. For mobile-first posts, continue with our guide to vertical music visualizers.